Scheduled Report
What are Scheduled Reports?
Scheduled Reports is a feature designed to facilitate the production of reports from past transactions processed by your terminals. You can create multiple Scheduled Reports to suit your needs and the reports can be delivered by email or FTP. The Scheduled Report feature can be found after logging into the Selfcare system and is located under the Reporting section on the main menu (Figure 1).
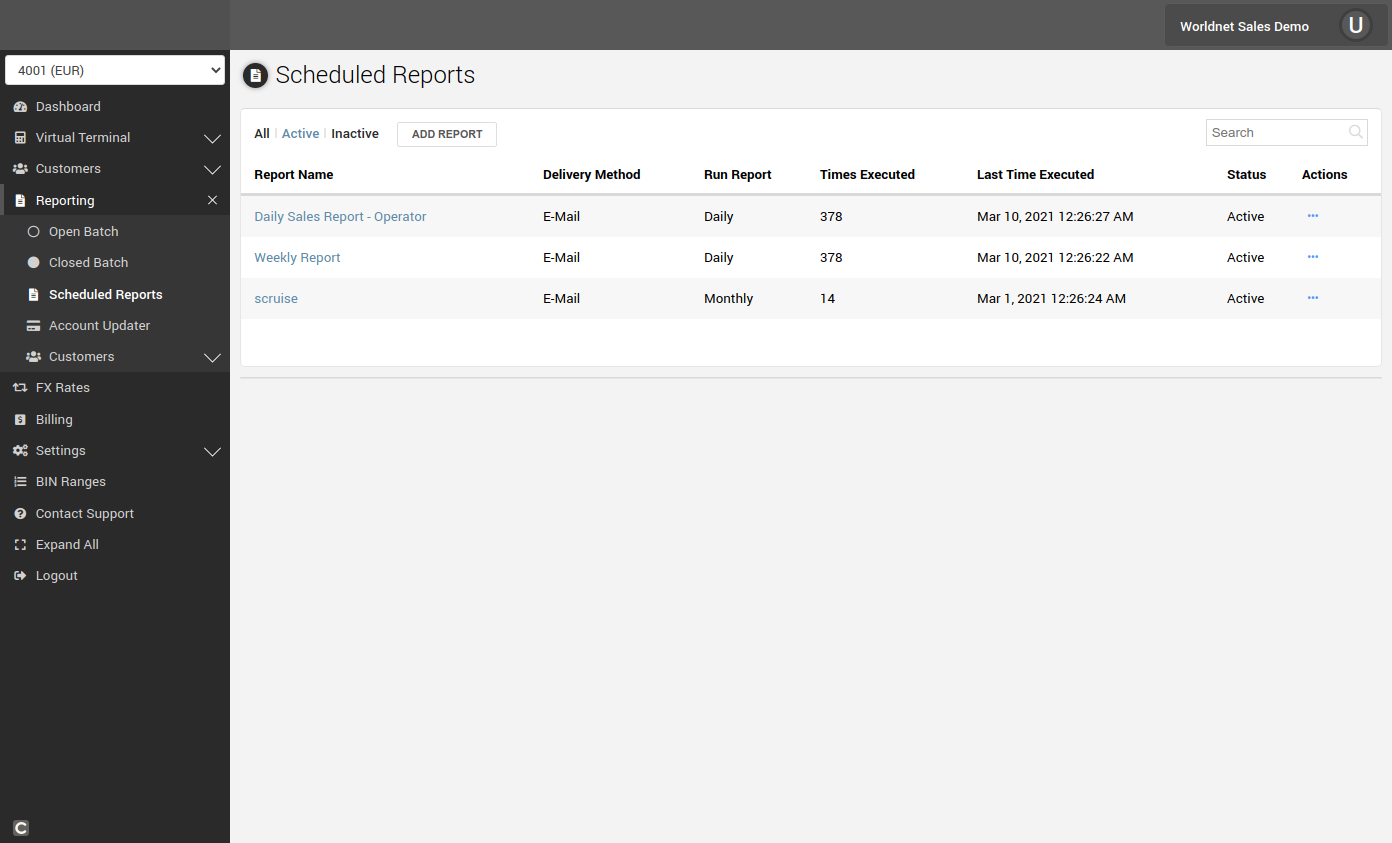 Figure 1. Location of the Scheduled Report feature within the Selfcare system.
If the Scheduled Report is not available in your terminal, please e-mail support@worldnettps.com to activate the feature.
How to create a Scheduled Report
To create a new report, navigate to the Scheduled Reports section and click on "Add Report". Give the report a name and select how often the report will be run, click "Save" (Figure 2).
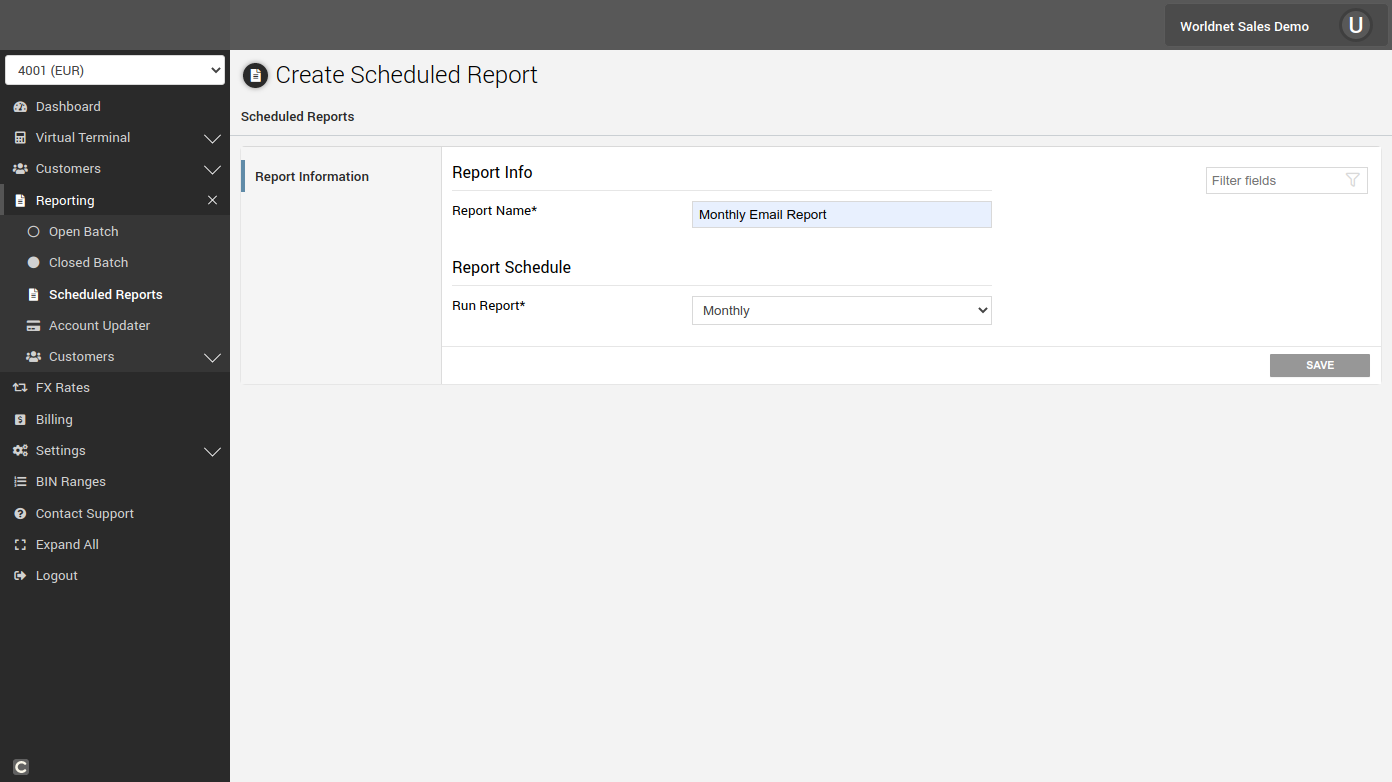 Figure 2. Initial report creation screen.
Please note that if you decided to produce a Once Off report, you will need to set the Start Date and End Date for your report. After the Once Off report is produced and delivered, it will be moved to the Inactive tab in the Schedule Report table.
After you have set the name and frequency of the report, you will select how the Scheduled Report will be delivered and what information will be included in the reports. To proceed to the Delivery Methods tab, click on "Delivery Methods" (Figure 3).
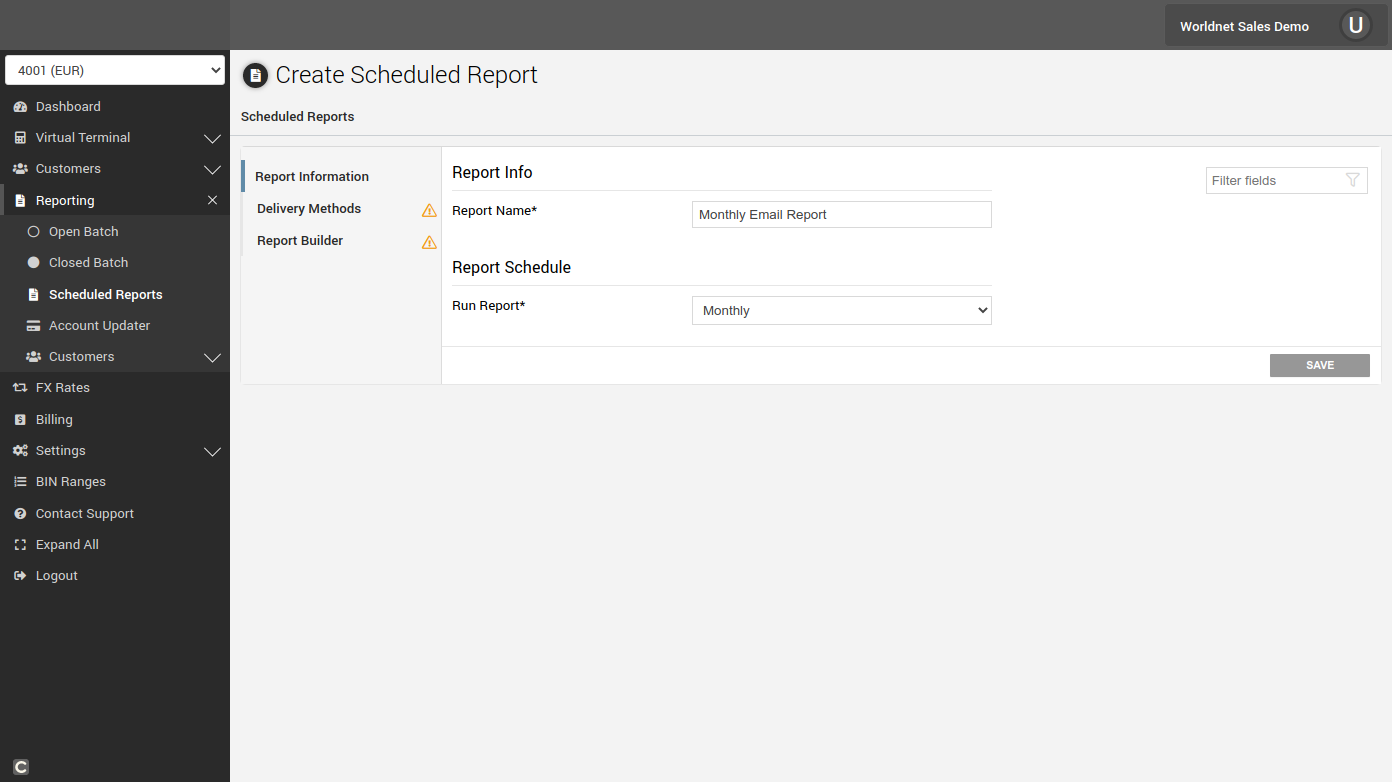 Figure 3. Delivery Methods tab.
Setting up your report delivery options
There are two ways to receive your Scheduled Report, via email and FTP. You can also receive your report using both options simultaneously. The reports are available on the Selfcare system in case you lose your email or your FTP server is offline.
Email Delivery
To receive your Scheduled Report by email, click on the "E-mail" checkbox (Figure 4). An input field will be shown, add the email address here. If you want to send to multiple email addresses, click on "Add" and add a new email address. If you need to remove one of the email addresses, click on "Remove". After you finish adding all the email addresses, click on "Save".
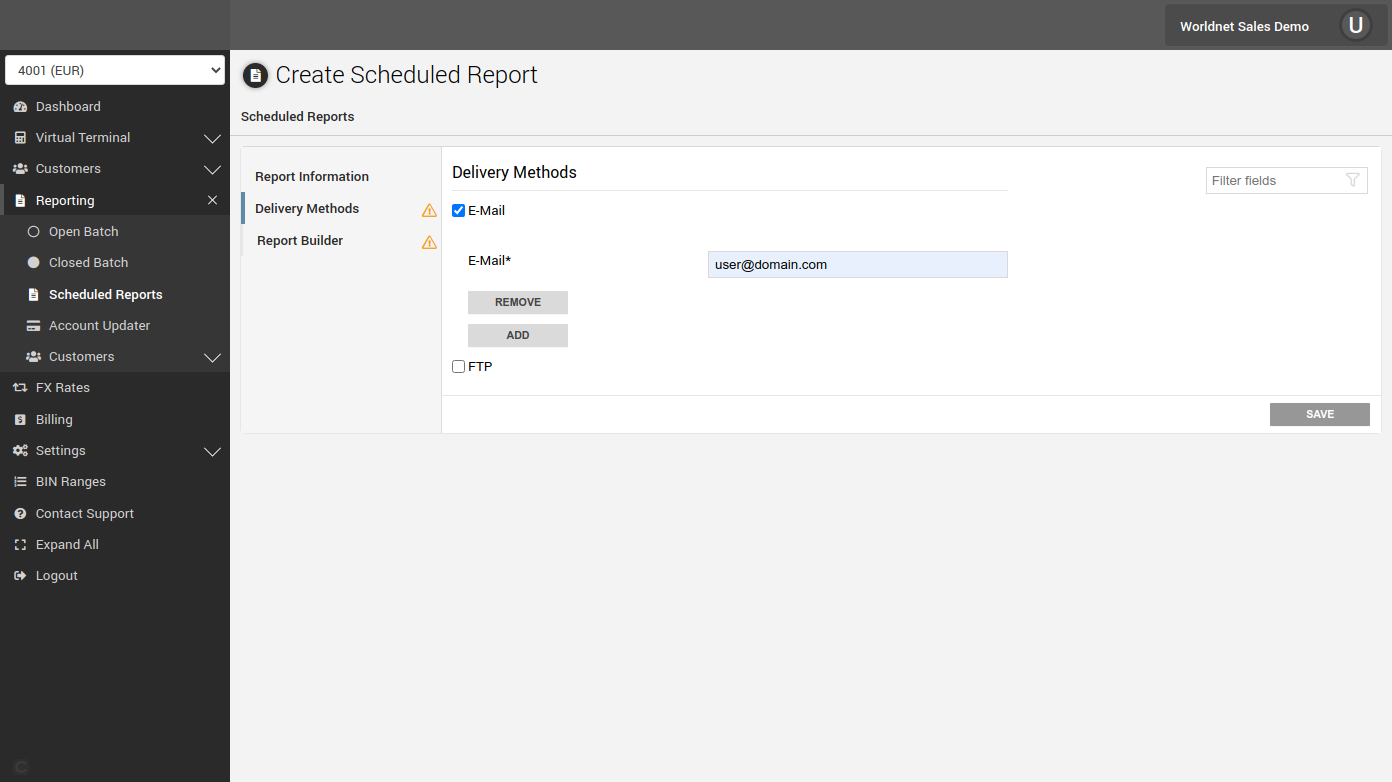 Figure 4. Email delivery setup.
FTP Delivery
To receive your Scheduled Report by FTP, click on the "FTP" checkbox (Figure 5) in the Delivery Methods tab. Fill the form with the details from your FTP server (Figure 5). Currently, the Scheduled Report feature supports accessing FTP servers with username and password. When complete, click on "Save".
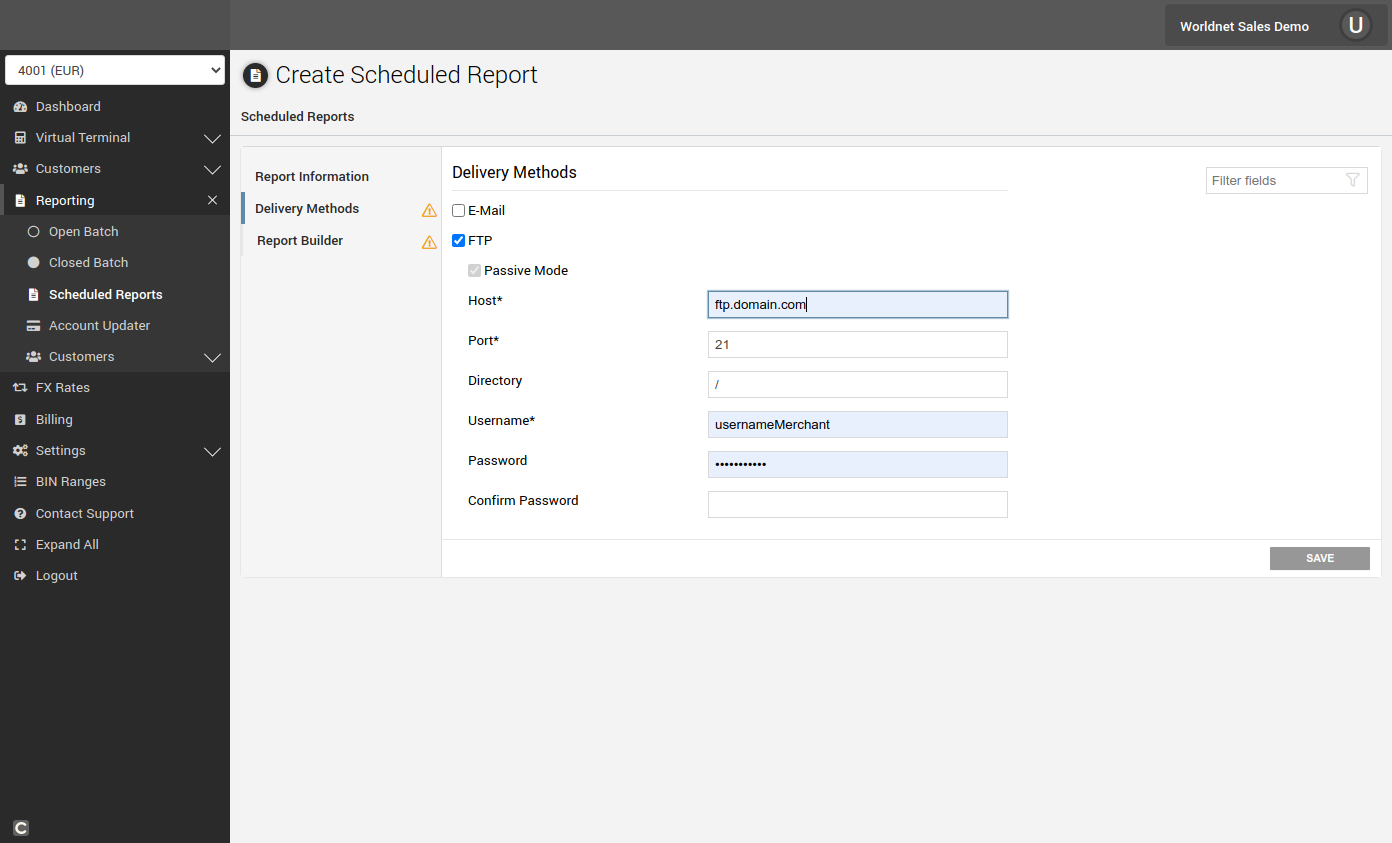 Figure 5. FTP delivery setup.
Customising your Scheduled Report
Now that your delivery methods are set up, we will customise the report with the information that suits your needs. Click on the "Report Builder" tab. The section is divided into two parts. The first part is the Report Builder filter (Figure 6). This functionality allows you to receive only transactions that are relevant for your report, e.g. only transactions with an amount greater than 100. You can add or remove filters clicking the "+" or "-" buttons.
The second part of this section is the Report Columns. In this area, you can choose what information is going to be available on your report. For example, you want to know the Card Type and Cardholder Email of all your transactions. You can also click on the "Select All" checkbox to receive all columns available in the report.
 Figure 6. Report Builder transaction filter
After selecting all the columns you need, click on "Save" at the bottom of the screen to proceed.
Finished
Now your Scheduled Report is ready and you will receive the report via the selected delivery method. If you have chosen the email delivery option, you will receive an email with a link to your report. If you have chosen to receive your report by FTP, your report will be available on your FTP server.
Next steps
On the Scheduled Report screen (Figure 7) there are three different tabs: All, Active and Inactive. Reports in the Active tab will show only the Schedule Reports currently running. If you created a Once Off report, after it has been delivered it will be moved to the Inactive tab.
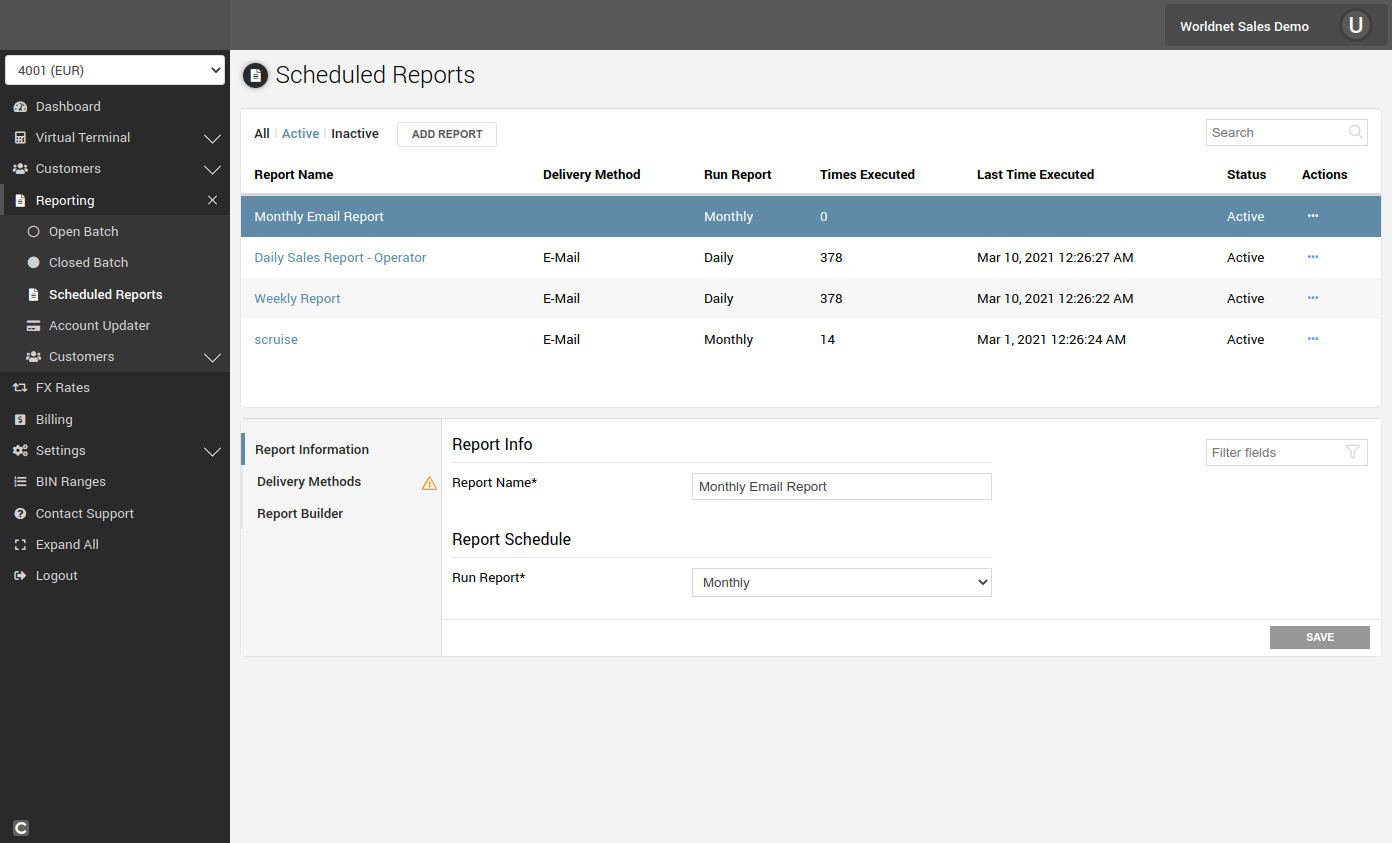 Figure 7. Scheduled Report with an active Scheduled Report.
To edit one of the reports, click on its name in the table. This will open a form similar to the one used to create the Scheduled Report. You can edit the information there, select new delivery methods, add additional emails or just check the information that is being used to create the report.
On the Action column (Figure 8), there are different actions available. If the report is active, you can make it inactive by clicking on "Set as Inactive". In case you no longer need that report to be generated, you can click on "Delete Scheduled Report".
 Figure 8. Scheduled Report with the actions menu open.
Downloading reports via Selfcare
For each Scheduled Report, the latest report is available on Selfcare. On the Action column, click on the "..." and there will be an option to download the latest report. The reports are generated in ZIP format containing a CSV file that can be opened in any spreadsheet software such as Microsoft Excel, Google Sheets or Apple Numbers.